

Heads up! This post contains affiliate links which means I get may get a commission if you purchase something based on my recommendations here.
My 2019 New Year’s Resolution was to join the ranks of amazing knitters who not only create beautiful knits but also take beautiful photos of their work. I don’t have a fancy camera though – I shoot all my photos on my iPhone and I do a lot of the editing on the phone too – especially if it’s just a WIP pic and I don’t want to spend a ton of time on the post-processing.
As part of my resolution, I’ve taken a bunch of photography courses on Craftsy and I have learned a ton! Specifically I’d recommend Creative iPhoneography or Mobile Photography to learn how to take awesome photos on your phone. I also love Product Photography at Home which is focused on taking photos of your handmade creations. And, believe it or not, they also have a class specifically about how to take photos of your knitting! I actually bought that course back when Bluprint was Craftsy and you had to buy courses one by one instead of getting access to everything with a subscription. The subscription model is sooooo much better! But I digress…
I did a little WIP photoshoot this morning of a sweater I am making for my American Girl doll and I thought I’d share a few tips with you about my process in taking this picture:
Staging the Photo
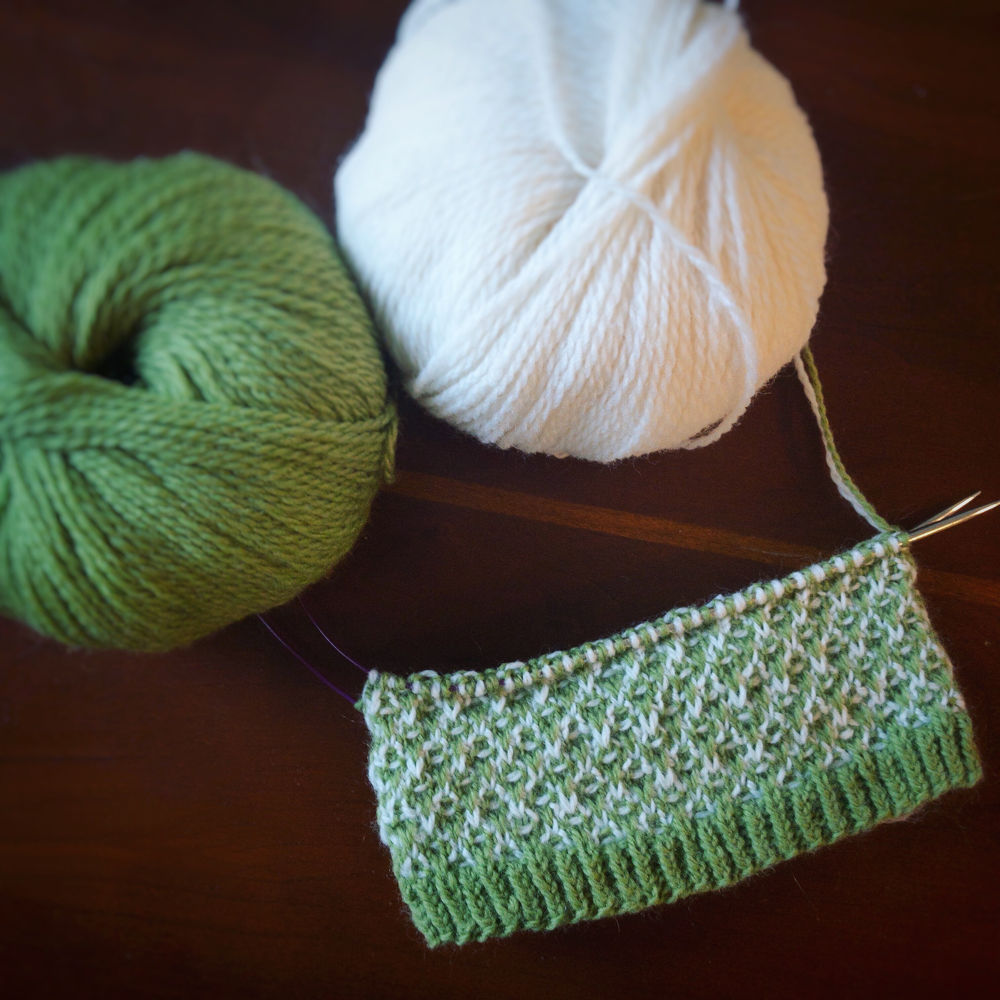
I own a ton of fun photo backgrounds and lighting equipment but I didn’t want to invest a ton of time into this picture so I just opened the blinds for some natural light and plopped it down on my coffee table. OK, I didn’t just plop it down. First, I did something sneaky: I grabbed some safety pins and pinned together the ends of the WIP so it wouldn’t curl, as unblocked knitting tends to do. I also grabbed a paper ball band that happened to be handy and folded it up under the piece so it slightly popped up off the table which just made it look a little more attractive.

Photo Composition
One of the best tips I learned in my photography classes is the rule of thirds. It’s tempting to center the subject of your photo, but it almost always looks better if you imagine a grid over the photo diving it into 9 squares and then you try to draw the eye to the intersection of one of those lines. For example, I placed my WIP at the bottom right intersection and the balls of yarn at the top left.

Post Processing
I have over a dozen photo editing apps on my phone so when I edit a picture I usually jump around between a few of them to get the look I’m going for. Links below are for the Apple App Store – I think a lot of these apps have Android versions though.
I usually use the camera in Lightroom or Camera+ to take my pictures instead of the native camera app. You have a lot more control over the lighting and colors when you take the picture, which means less to edit later. I shot this photo in Lightroom with a manual white balance adjustment but everything else was just on auto. I took about 15 pictures and then went through and picked my favorite. (That is the hardest part!)
I didn’t do any editing within Lightroom today. My first stop in post-processing was the TouchRetouch app which I am totally obsessed with! My coffee table is old and unfortunately has some scratches and nicks, so I just edited those right out with one touch using this app. I also had a cable from my needle that was bugging me in the picture so I edited that out too.

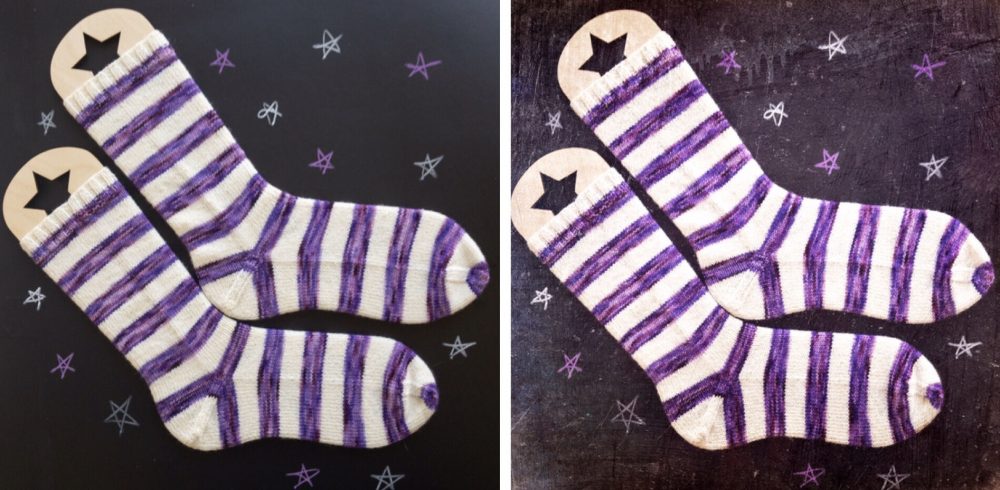
Next, I popped it into Snapseed and tuned the lighting and color a bit, added a little lens blur to draw more focus to the WIP and less on the yarn balls, and put on a slight vignette. I’m actually still on the fence about whether I like the lens blur. What do you think?

Finally, when I went to post the pic on Instagram, the Clarendon filter caught my eye (it usually does!) so I applied than but dialed it down to about 30% strength. Boom! Done!
At the end of the day I probably invested like 20 minutes in this picture, which may sound insane to some but for me, it was 20 minutes well spent to create something that is lovely to look at. Hopefully you think so too.
Leave a Comment