

Heads up! This post contains affiliate links which means I get may get a commission if you purchase something based on my recommendations here.
Self-striping sock yarn is designed to create stripes automatically as you knit, without the need to change colors or carry multiple yarns. It’s so easy to use that a blog post called “How to Knit With Self-Striping Sock Yarn” might seem silly, but I have a few tips to share that can make all the difference.
I love to knit with Knit Picks Felici sock yarn – it is super affordable and I like that it comes in 50 gram balls instead of a 100 gram hank. That way you can use one ball per sock and you don’t have to stress about figuring out where the middle of the skein falls. Felici comes in and out of stock at Knit Picks, so if that link doesn’t work, that means they are in an off-again period. Sometimes you can pick it up from collectors on Etsy. You can also see if Felicini is in stock, which is similar to Felici but the stripes are more narrow.
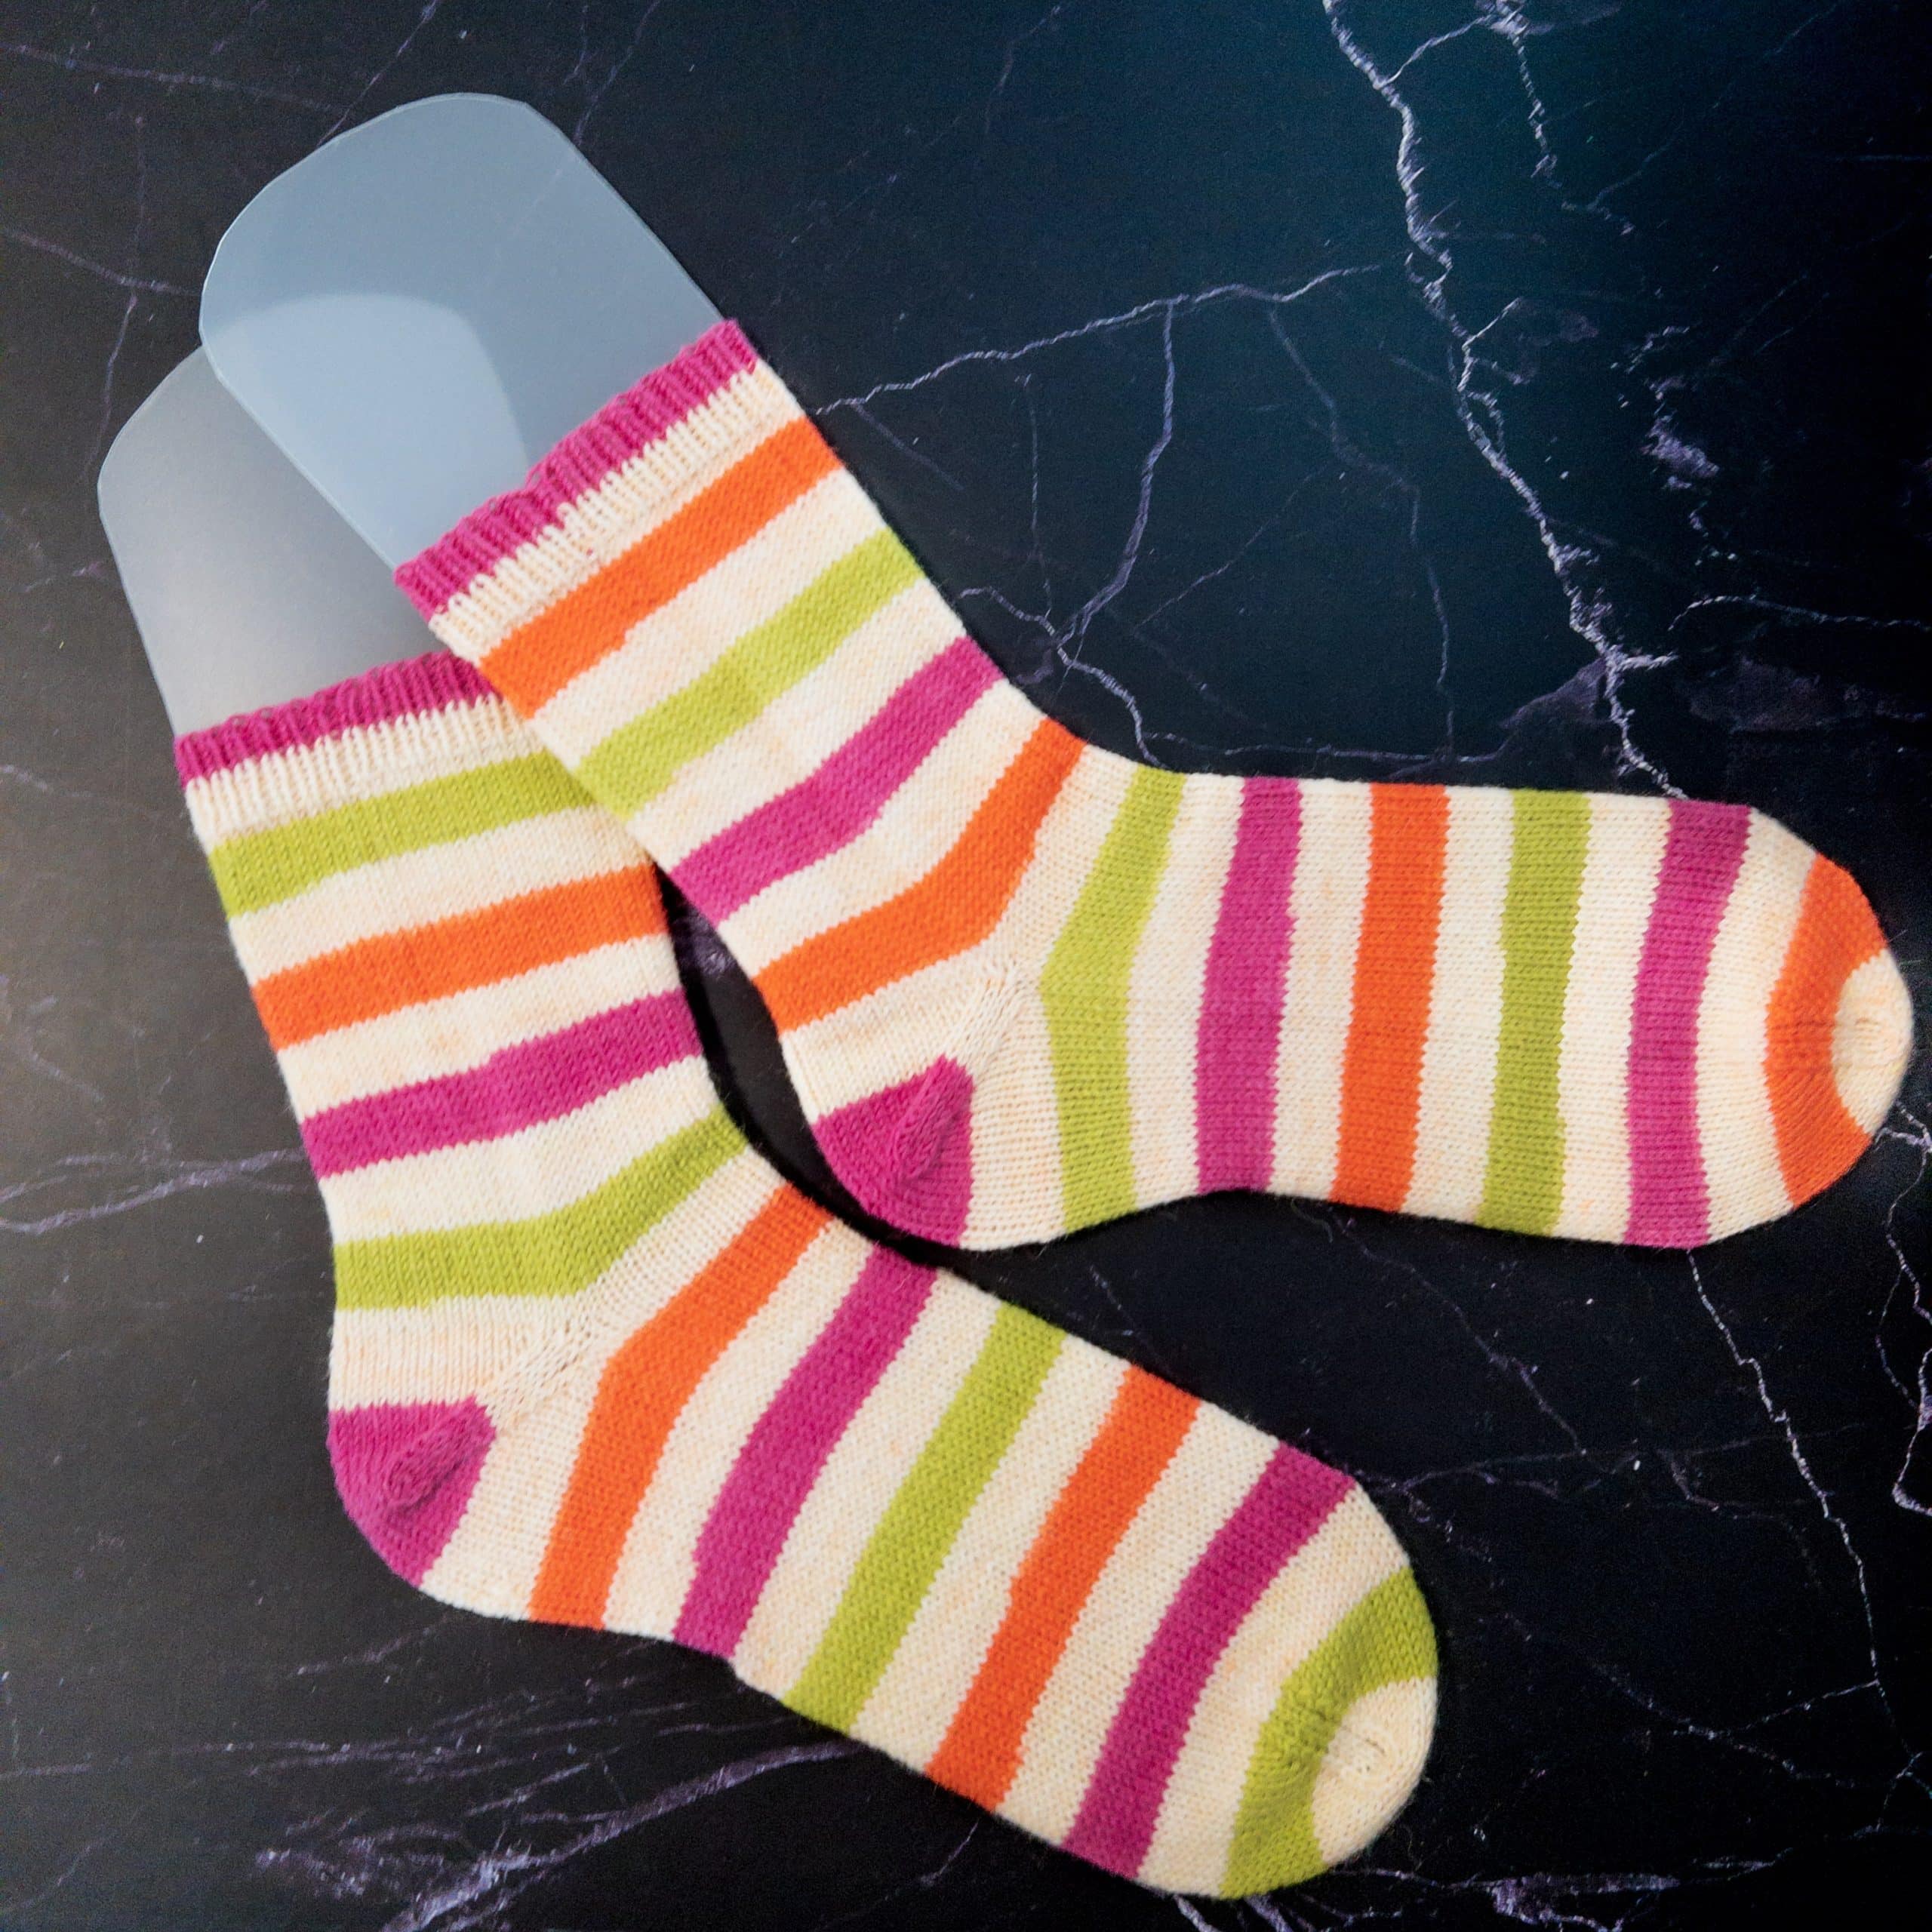
Here is pair of socks I just finished knitting out of Felici and they show off the two tips I want to show you: how to make sure the stripes match in both socks and how to control the width of your stripes in the heel shaping.
How to Make Self-Striping Socks Match
Two elements to making the sock match are to (1) make sure you are pulling your yarn from the same direction in both socks (your choices are to pull from the outside or from the center – just make note of which you choose!) and (2) start your cast on and toe decreases at exactly the same place in the color sequence – don’t just start knitting wherever the manufacturer cut the end.
My best trick for that second item is to pull out the yarn past whatever color the ball starts with and keep going until you get to the start of the first full color sequence. I always start socks with a German Twisted Cast On, which is a long-tail cast on, so I hold the start of the color in my left hand and span out my arms to their fullest, then start the cast on where the yarn hits in my right hand. (Of course, you could get out a measuring tape and measure out a length of yarn and do it on both socks, but I just use my arm span as a standard measurement. I know that’s going to be about the right length for a CO 64 stitch sock).
At the end of the sock, I always start my toe decreases at the very beginning of a color change so I’m sure they will match as well.
How to Knit the Heel in Self-Striping Socks
In my opinion, the best pattern for self-striping yarn is to make a plain stockinette sock with an afterthought heel. That’s more of a technique than a pattern, I suppose… I love this method because it creates the cool “bullseye” look like in my socks above. Here is a great YouTube video that I used to learn this method. (There used to be an accompanying pdf with written instructions, but it seems to have disappeared off the internet).
Basically, you knit the sock as a giant tube and don’t do anything for a heel and finish off with a toe. Then, you go back to where you want your heel to go and cut a stitch in the middle of a stripe and insert an afterthought heel. (Yes, you heard me…. you cut into the sock! It’s not as scary as it sounds though, I promise).
My trick: always cut into the middle of the stripe and then start the heel using that same color. Ideally, you want to start about half-way though the length of that color segment in the yarn. I usually just do a full arm-span to measure that out – it works well for Felici’s standard stripe length. Again, just make sure to start in the same place on both socks!

How do you know where to cut? The afterthought heel is worked exactly the same as your toe, so it will be the same length. Measure how long your toe is (mine was 1.5”) and then figure out how long you want the foot of the sock to be (I wanted these to be 10.5”). So, I insert the heel 9 inches above the end of my toe. When I knit the heel, the other 1.5” will manifest and the total foot length will be 10.5”.
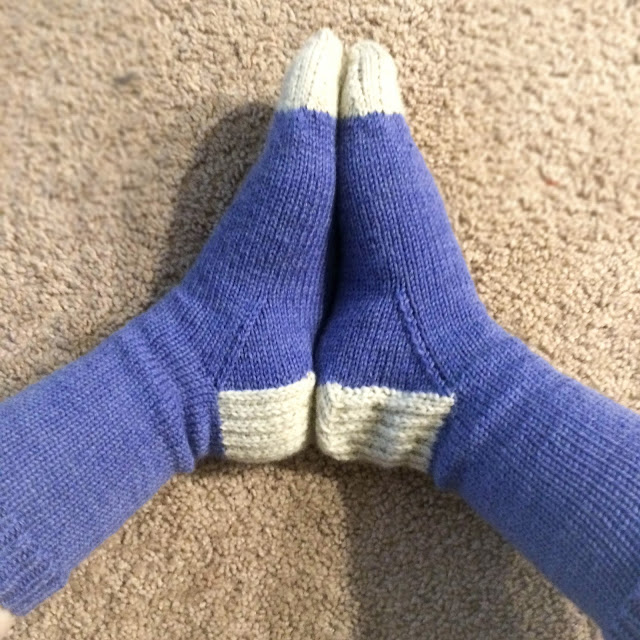
Is that all a little too hairy? If so, I recommend using a short row heel technique, like the Fish Lips Kiss Heel. When you are ready to insert the heel, stop working with the self-striping yarn and pick up a solid colored yarn that looks nice with your stripe colors then work a short row heel. When you are done with the heel, continue working with the striping yarn.
Why are we going to this effort? Self striping yarn only works if you keep the same stitch count though the entire project. Any change to the stitch count will cause the stripes to change thickness.
If you work your short row heel with the self striping yarn, of if you use a contrasting yarn for the heel flap and do the gusset in the self-striping yarn, you are changing the stitch count and your stripes will get wonky around the heel. If you don’t mind that, then go for it! But I really love the nice clean look of the bullseye afterthought heel or the contrasting color short row heel.
Now, here are the details of my “Carrot Cake” socks featured in this post.
yarn details
Knit Picks Felici Sock in Carrot Cake
Fingering Weight
75% Superwash Merino, 25% Nylon
machine wash & dry
50 g/218 yd skein
Purchased in August 2020
project details
pattern: “Sock Surgeon Afterthought Heel” (You Tube tutorial)
size knit: CO 64 stitches
needles: US size 1.5 (2.5 mm) 5” wood dpns
yarn used: 314 yards (72 grams)
finished size: Foot from back of heel to tip of toe: 10.5”; Top of cuff to bottom of heel: 7.5”; Foot circumference: just shy of 8”
duration: June 2022 – March 2023
Leave a Comment